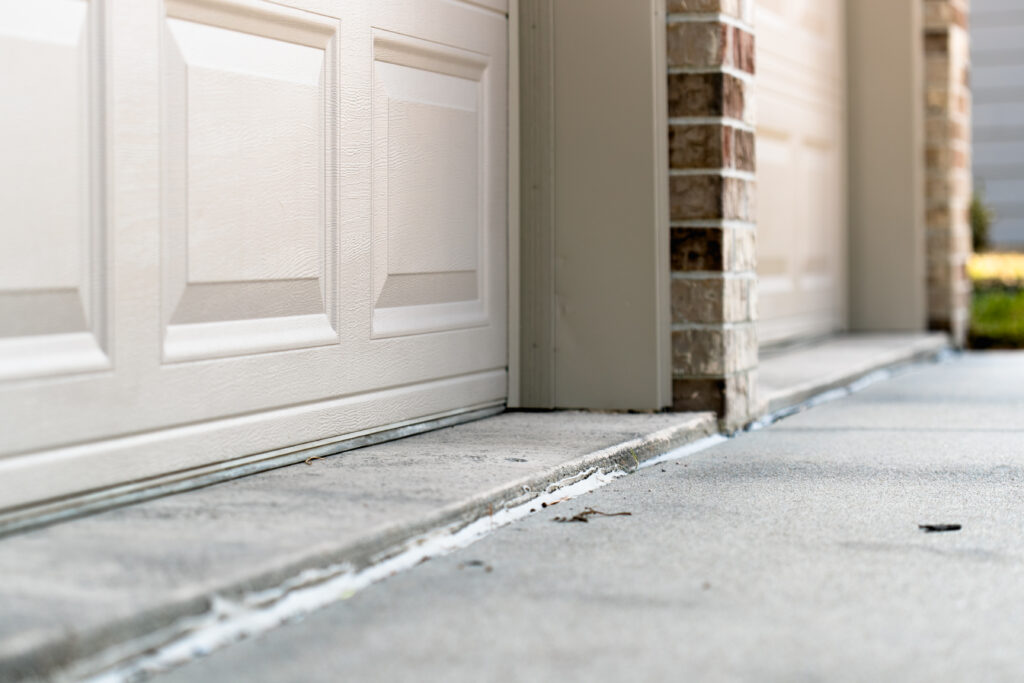
How to level a concrete floor with DIY and permanent options.
Are you tired of dealing with an uneven surface in your concrete floor? Don’t worry; you’re not alone. Uneven concrete floors are a common issue that many Vancouver homeowners face.
However, the good news is that you can temporarily fix it yourself with a bit of effort and the right guidance. Or, we can also give you some permanent fix solutions with support from our team.
In this step-by-step guide, we’ll walk you through the process of leveling a concrete floor so you can enjoy a smooth and seamless surface in no time. And if you encounter any complex settlement or foundation issues along the way, don’t hesitate to reach out to True Level Concrete for professional assistance.
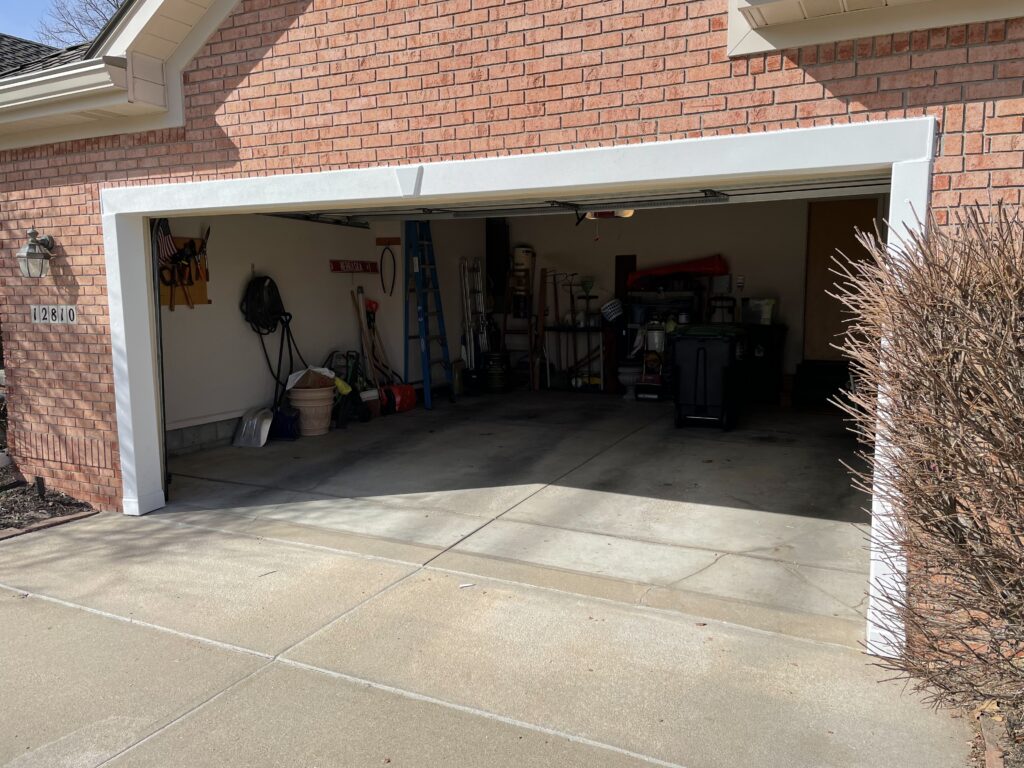
How to level a concrete floor step by step DIY
Step 1: Prepare the concrete
In order to determine the cause of the issues, or where the damage lies, you should start with clearing the space with the uneven concrete. Remove all furniture from the surface, and clean off any debris on the floor that may interfere with the leveling process. Use a vacuum cleaner to ensure the surface is clean and free of any obstructions.
Step 2: Assess the Uneven Concrete
Before you begin the leveling process, it’s very important to not only assess the extent of the damage, but also find out what caused the uneven concrete in the first place.
Look for areas where the concrete has sunken, settled or cracked. Use a leveler throughout the room to find uneven concrete that might not be visible off the bat. You can also use marbles to see what direction it rolls. Mark off your findings with chalk. These are the areas that will require your attention during the leveling process.
Oftentimes, homeowners will notice that the floor is only salling in the middle, sometimes it’s completely sunken as a slab, and sometimes it is completely uneven across the slab.
At this point, you could also undergo a free concrete inspection and estimate from our friendly specialists.
What causes uneven concrete floors?
Majority of the time, the problem lies below the concrete slab, in the soils. In B.C., our sediments vary from soft peat to mountain bedrock. The soils react differently over time but the 3 major causes of settlement in the Vancouver and surrounding areas are: drying and shrinking of the soils, wetting and softening of soil and poorly compacted fill soil.
Overtime, the soils will wash away or shrink, taking away all that structural support beneath the slab. This is what causes concrete slabs to sink, become uneven, and break. Keep in mind, as time goes on, settlement continues to occur in the slabs if the support underneath is not addressed.
Step 3: Gather Your Tools and Materials
To level your concrete floor, you’ll need a few essential tools and materials. These may include:
- Concrete patching compound
- Self-leveling concrete
- Trowel
- Level
- Bucket
- Water
- Safety gear (gloves, goggles, mask)
Step 4: Fill in Cracks and Depressions
Using a concrete patching compound, fill in any cracks or depressions in the concrete floor. Smooth out the compound with a trowel, ensuring it is level with the surrounding surface. Let the patching compound dry completely before proceeding to the next step.
Step 5: Mix and Pour Self-Leveling Concrete
Prepare the self-leveling concrete according to the manufacturer’s instructions. Mix it thoroughly in a bucket until you achieve a smooth consistency. Pour the self-leveling concrete onto the floor surface, starting from the farthest corner and working your way towards the exit. Use a trowel to spread the concrete evenly across the entire floor.
Step 6: Level the Surface
Once the self-leveling concrete is poured, use a level to ensure that the surface is flat and even. Make any necessary adjustments to the concrete while it is still wet to achieve the desired levelness. Allow the self-leveling concrete to dry completely according to the manufacturer’s instructions.
Keep in mind that if your concrete is settling, this is not a permanent fix. The only way to ensure that your concrete floor won’t become uneven again is to fix the support.
How to level a concrete floor permanently
For a permanent fix to your uneven concrete floor, call True Level Concrete. This is our specialty, and our experts are here to help with transparency, efficiency, and quality results. First, our specialist can inspect your concrete to determine the cause of settlement, and they will create a custom repair plan to fit your needs.
With our methods, we can lift and level your uneven concrete as well as provide permanent support for any voids, soft soils, or gaps under the concrete.
We offer a few methods for leveling and lifting concrete slabs of all sizes.
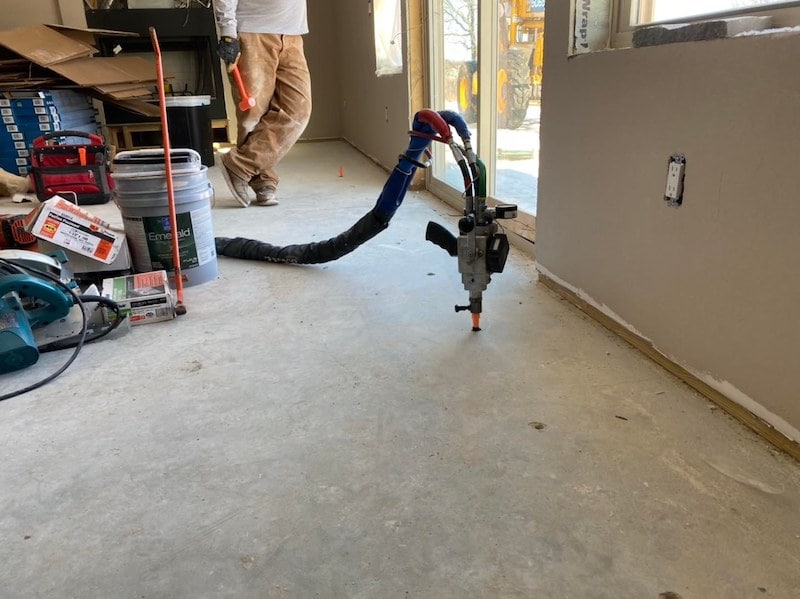
PolyLevel concrete leveling foam:
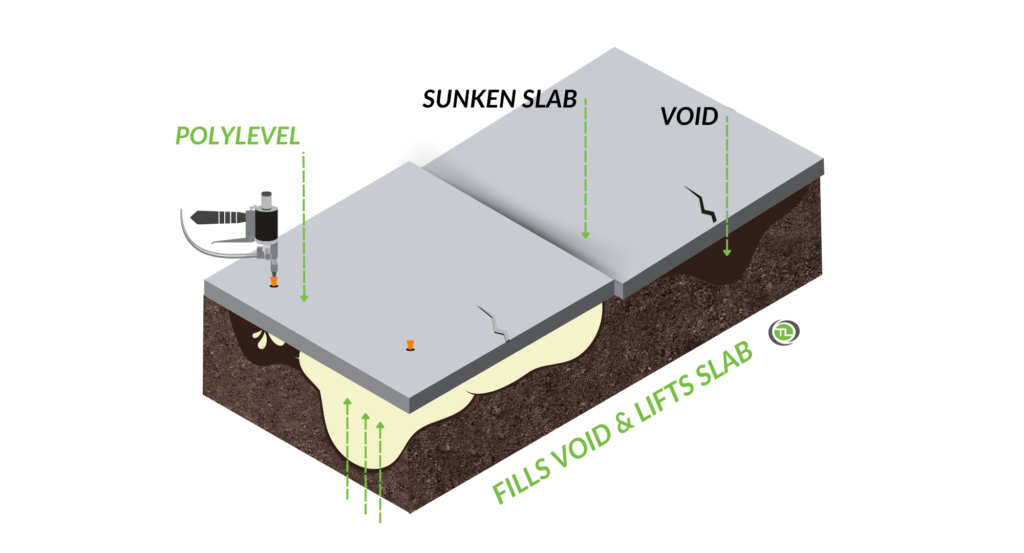
Using a patented PolyLevel foam polyurethane formula, our crew injects this high-density foam under the slab as a liquid. The foam quickly expands and cures to offer lift, fill the voids, and offer strong support beneath the slab. This product does not wash out and will not degrade over time.
Smartjack concrete leveling:
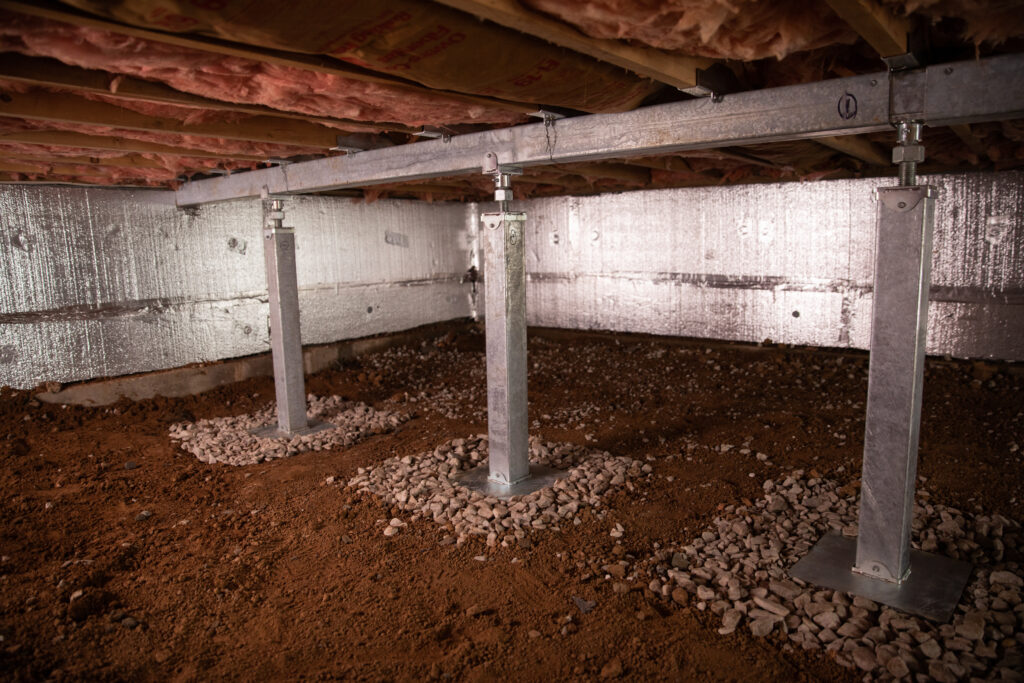
Our Smartjacks system permanently lifts and stabilizes existing beams and floor joists in your crawl space beneath the slab. A solid base of engineered fill addresses the problem of weak foundation soil by transferring the weight of the home to competent strata. Steel columns are secured to the beams or joists in the crawl space and heavy-duty, threaded rods allow for adjustment for each SmartJack System installed.
Let’s fix this uneven floor.
Congratulations! You’ve successfully leveled your concrete floor and transformed it into a smooth and seamless surface. By following these step-by-step instructions, you can say goodbye to uneven patches and enjoy a level floor for years to come. And remember, if you ever need help with more significant settlement or foundation issues, True Level Concrete is just a phone call away.
